
How to Install an Oil Pan Gasket on a Small Block Chevy
Let’s talk about oil pan gaskets on the small block Chevy. This is one of those jobs that seems straightforward until you’re elbow-deep in the engine bay, covered in old oil, and wondering why the hell your gasket is leaking again three months after you just replaced it.
If you’re reading this, you’ve probably either got a leak you’re trying to fix, or you’re doing a full rebuild and want to do it right the first time. Either way, let’s get into what actually works
 Why Do Small Block Chevy Oil Pans Leak?
Before we talk installation, let’s understand why these things fail in the first place. Small block Chevys (the classic 350, 305, 327, 400, etc.) have a few design quirks that make oil pan leaks common:
| Issue | Why It Happens |
|---|---|
| Cork gaskets dry out | The factory cork gasket hardens over time and loses sealing ability |
| Uneven torque on rail | Warped or uneven pan rail causes leaks at corners |
| RTV sealant failures | Too much (or wrong type) sealant squeezes into oil passages |
| Improper surface prep | Old sealant residue prevents new gasket from sealing |
| Oil overheat | Thermal cycling breaks down gaskets faster |
The good news: with proper installation technique, a new gasket should last 100,000+ miles. The bad news: a sloppy installation means you’re doing this again next year.
Cork vs. Rubber vs. Silicone: Which Gasket Should You Use?
This is where people get confused. Here’s the practical breakdown:
| Gasket Type | Pros | Cons | Best For |
|---|---|---|---|
| Cork | Cheap, factory-style | Degrades faster, needs more surface prep | Stock restoration |
| Rubber | Durable, good seal | Can be harder to position | Daily drivers, budget builds |
| Silicone (one-piece) | Best seal, most durable | More expensive, harder to position | Performance builds |
| Cork + rubber combo | Good balance | Medium price | Most applications |
For most people, a quality rubber or cork-rubber hybrid gasket is the sweet spot. If you’re building a performance engine or one that sees high heat, go silicone. If you’re restoring a numbers-matching car, factory-style cork matches the original.
What Tools Do You Actually Need?
This isn’t a specialty job, but some tools make it way easier:
| Tool | Why You Need It |
|---|---|
| Socket set | Removing oil pan bolts |
| Gasket scraper or putty knife | Cleaning old sealant from block and pan rails |
| Carburetor cleaner or brake cleaner | Degreasing surfaces before installation |
| New oil pan bolts (optional) | Old bolts may be stretched or corroded |
| Torque wrench | Critical for proper sealing |
| Thread sealant (for oil pan threads) | Prevents weeping at bolt holes |
| RTV silicone (if using) | Some applications need it at corners |
Don’t cheap out on the torque wrench. Uneven clamping is how you get leaks at corners.
Step-by-Step Installation Process
Step 1: Drain the Oil and Remove the Pan
Simple enough. Drain the oil (obviously) and remove all the oil pan bolts. The bolts on small block Chevys are typically 5/16″ heads—surprisingly small for something holding your oil supply.
As you remove bolts, note which are which. Some are different lengths, especially the ones near the rear main seal area. Put them back where they came from.
The pan might need gentle persuasion to break loose if it’s been sealed with RTV. Tap around the edges with a rubber mallet—don’t beat on it, just break the seal.
Step 2: Clean Everything Thoroughly
This step matters more than most people think. Here’s what to do:
Remove all old gasket material. Use a gasket scraper or putty knife on both the block and the oil pan rails. Get down to bare metal—no old silicone, no chunks of old gasket. Any debris creates a leak path.
Degrease the surfaces. Spray down the oil pan rails with carburetor cleaner or brake cleaner. Wipe with clean shop towels. You want zero oil, grease, or residue.
Inspect the surfaces. Look for warpage, cracks, or damage. Warped rails need to be straightened (or the pan replaced). Cracked pans need to be replaced entirely.
Clean the bolt threads. Old oil and grime on the threads can affect torque readings.
Step 3: Check the Rear Main Seal Area
While you’re in there, pay attention to the rear main seal area. If there’s a leak there (often mistaken for a front pan leak because oil travels), you might be wasting your time just doing the pan.
The rear main seal sits in a housing at the back of the block. If it’s weeping, that’s a separate repair. Don’t install a new pan gasket only to find out the real leak is behind the flywheel.
Step 4: Install the New Gasket
Here’s where technique matters:
For cork or rubber gaskets:
Install the gasket dry (no adhesive usually needed). The gasket should just sit there without sticking. If it wants to fall out, a tiny dab of gasket sealer at the corners is okay, but less is more.
For silicone one-piece gaskets:
These are more finicky. The surfaces must be absolutely clean and dry. Apply a small bead of silicone at the corners only—the main seal comes from the gasket itself, not the silicone. Too much silicone squeezes into the oil pan and eventually breaks free, clogging oil pickup screens.
Position carefully. Get the gasket aligned before you tighten anything. Once the bolts start pulling the pan up, you’re committed.
Step 5: Reinstall the Oil Pan
This is where people mess up. Here’s the right way:
Start all bolts by hand. Thread them in until they’re just snug—finger tight across the board. This ensures you’re not cross-threading anything.
Tighten in stages. Don’t just crank down the first bolt and work your way around. Use a cross-pattern or star pattern, tightening each bolt a little at a time. This pulls the pan in evenly.
Torque sequence for small block Chevy:
For a one-piece gasket: Start with 10 ft-lb in a star pattern, then go back to 20 ft-lb, then finish at 25-30 ft-lb (check your service manual for exact specs).
For a two-piece (old style): Torque the center bolts first, then work outward toward the ends.
Step 6: Use Thread Sealant on the Bolts
Some rebuilders use thread sealant on the oil pan bolt threads to prevent weeping at the bolt holes. It’s optional but recommended, especially if you’ve had leak issues at the bolts before.
Use a quality thread sealant rated for oil pans. A small amount on the threads does the job.
Step 7: Refill and Check
Add your oil, start the engine, and watch. It should be immediately obvious if you have a leak. Check the corners first—where the pan meets the block, not the center of the sides. That’s where most leaks show up.
If you see weeping at a corner, stop the engine, let it cool, and re-torque that area. Sometimes a little more torque fixes it. If it keeps weeping, you might have debris or a warped surface.
Common Mistakes That Kill New Gaskets
Not cleaning old sealant completely. Any old material left behind creates a gap for new leaks.
Using too much RTV silicone. This is the most common failure mode. RTV squeezes into the oil pan, breaks free over time, and clogs the oil pickup screen. Then you lose oil pressure and grenade the engine. Use silicone sparingly at corners only if using.
Uneven torque. Over-tightening corners while under-tightening the middle creates stress and leaks.
Reusing old bolts. If the old bolts are stretched or corroded, replace them. Oil pan bolts are cheap.
Installing on a hot engine. Let everything cool down. The block and pan have different expansion rates when hot—installing hot means gaps when cold.
How Long Does This Job Take?
| Experience | Time |
|---|---|
| First-timer | 3-5 hours |
| Experienced DIY | 1-2 hours |
| Professional shop | 1-2 hours labor |
The job itself is straightforward. Most of the time is cleaning old sealant and waiting for everything to dry after degreasing.
FAQ
Q: Can I use RTV silicone instead of a gasket?
A: Technically yes, but it’s not ideal. Silicone-only installs are messier and more prone to leaks if not done perfectly. Most people get better results with a proper gasket. If you must use silicone, use it sparingly at corners only.
Q: My small block Chevy leaks oil at the back near the bellhousing. Is that the oil pan gasket?
A: Probably not. That area is typically the rear main seal or the intake manifold valley. Oil pan leaks usually show at the sides or front. Identify the actual source before tearing the pan off.
Q: Should I replace the oil pan while I’m at it?
A: If the pan is dented, cracked, or badly rusted, yes. But basic steel replacement pans are cheap; aluminum racing pans are expensive. Only replace if there’s a reason to.
Q: Can I install an oil pan gasket without dropping the crossmember?
A: Usually yes on small block Chevys. The stock oil pan is designed to come out with the engine in the car. Some aftermarket pans (especially deep-sump or steel racing pans) require engine removal. Know your pan before you start.
Q: How tight should oil pan bolts be on a small block Chevy?
A: Typically 25-30 ft-lb for most applications, but check your specific service manual. The critical point is even torque in a star pattern, not just cranking bolts down hard.
Q: My new gasket leaked after a week. What did I do wrong?
A: Most likely: incomplete surface prep (old sealant left behind), uneven torque, or using too much RTV. Pull it back apart, clean everything perfectly, and reinstall without sealant (unless the gasket instructions specifically require it).
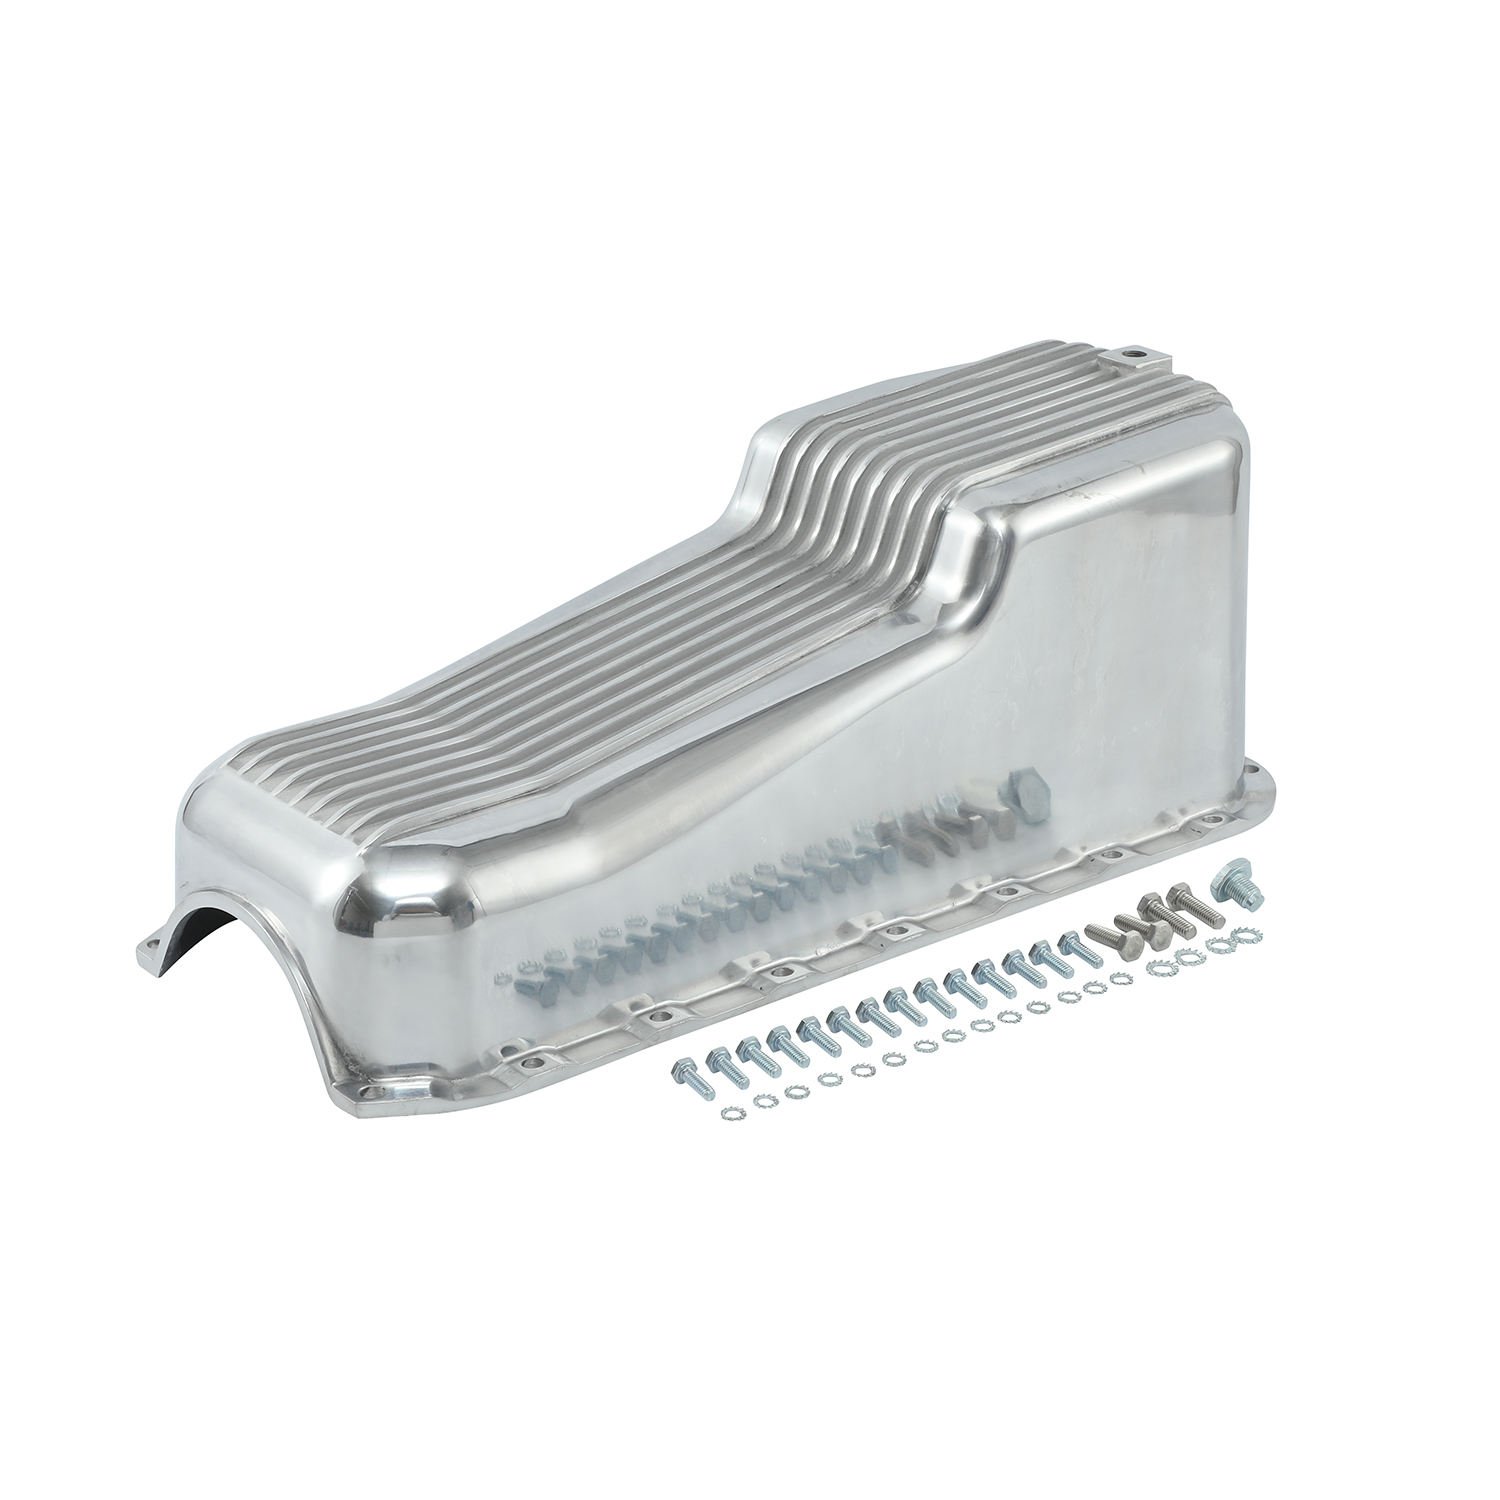
Where to Buy a Where to Buy a Chevy Oil Pan?
If you’re looking for a reliable supplier, it’s important to choose a manufacturer that offers:
- Stable product quality
- Consistent supply
- Wholesale support
- OEM branding options
For bulk orders or reseller inquiries, you can check this product page:
If you’re looking for a reliable supplier, it’s important to choose a manufacturer that offers:
- Stable product quality
- Consistent supply
- Wholesale support
- OEM branding options
For bulk orders or reseller inquiries, you can check this product page: