
Transmission Mount: What It Does and How to Replace It
Let’s talk about transmission mounts. These are one of those components that basically nobody thinks about until something goes wrong—and when something goes wrong, you’ll definitely notice it. If you’re reading this, maybe you’ve got a clunking noise when you take off, or someone’s mentioned that your transmission mount might be shot.
Let’s get into what these things actually do and whether you need to replace one.
What Does a Transmission Mount Actually Do?
A transmission mount is exactly what it sounds like—the rubber or hydraulic mounting that holds your transmission to the vehicle frame or subframe. It’s the connection point between the heavy transmission (which weighs several hundred pounds) and the body of your car.
The mount does three jobs:
Support weight. The transmission sits in the mount, which bears the load of the transmission’s weight. Simple.
Absorb vibration. The engine and transmission create vibration during operation. The mount’s rubber or hydraulic fluid absorbs that vibration before it travels into the cabin. That’s why your car feels smooth instead of vibrating constantly.
Isolate movement. When you accelerate, the engine and transmission twist (torque reaction). When you brake, they lunge forward. The mount allows controlled movement while keeping everything in place.
Without mounts, your transmission would be bouncing around the engine bay, hammering bolts and brackets, vibrating into the cabin, and generally making a mess of everything.
What Are the Different Types of Transmission Mounts?
Not all transmission mounts are created equal. Here’s the breakdown:
| Mount Type | How It Works | Pros | Cons |
|---|---|---|---|
| Solid rubber | Rubber bushing sandwiched between metal | Simple, cheap, durable | Transfers more vibration |
| Hydraulic (filled) | Rubber with fluid-filled cavity | Better vibration isolation | More expensive, can leak |
| Polyurethane | Hard plastic bushing | Long lasting, responsive | Transfers more vibration than rubber |
| Active electronic | Computer-controlled actuators | Adjustable, smooth | Expensive, complex |
Most vehicles from the factory use hydraulic mounts—they offer the best balance of vibration isolation and support. Aftermarket options often upgrade to solid rubber or polyurethane for performance applications where you want less movement and more direct power transfer.
How Do You Know If Your Transmission Mount Is Bad?
This is where people get confused. Here are the actual symptoms of a bad transmission mount:
Clunking or banging noise. Especially noticeable when you put the transmission in gear from park or reverse, or when you take off from a stop. If you hear a dull thud from under the vehicle when the engine/transmission twists under load, that’s a classic mount symptom.
Excessive engine movement. With the engine running and your foot on the brake, put the car in drive. If you can see the engine/transmission rocking significantly, the mount is no longer controlling that movement.
Vibration through the floor. A collapsed mount lets more vibration through. If your normally smooth car suddenly feels rough, especially at idle, inspect the mounts.
Transmission fluid leaks. Some hydraulic mounts have a fluid-filled center cavity. If that cavity cracks, you’ll see transmission fluid dripping from the mount area.
Misalignment between engine and transmission. If you can move the transmission noticeably by hand with the car in neutral and parking brake on, the mount is shot.
What Tools Do You Need to Replace a Transmission Mount?
Before you start, gather what you need:
| Tool | Why You Need It |
|---|---|
| Jack and jack stands | Supporting the transmission safely |
| Transmission jack (optional but recommended) | Makes positioning much easier |
| Socket set | Removing mounting bolts |
| Breaker bar | For stubborn bolts |
| Pry bar | Separating components if needed |
| Torque wrench | Critical for proper reassembly |
| Penetrating oil | For rusted bolts |
A transmission jack makes this job infinitely easier. You can rent one from most auto parts stores for about $20-30 if you don’t own one. Trying to hold several hundred pounds of transmission with a floor jack is not a good time.
How to Replace a Transmission Mount
Step 1: Support the Vehicle Safely
Park on level ground. Apply the parking brake. Put wheel chocks on the wheels that stay on the ground (if you’re lifting one end).
Support the vehicle at the frame or pinch welds with jack stands—never under the oil pan, transmission pan, or control arms.
Step 2: Support the Transmission
This is critical. Before you remove any mount bolts, support the transmission properly.
Using a transmission jack: Position the jack under the transmission tail housing or crossmember, whichever your jack can reach. Raise it just enough to take the weight off the mount—don’t lift the engine/transmission assembly.
Using a jack and wood: If you don’t have a transmission jack, you can support the transmission with a floor jack and a thick piece of wood against the transmission pan. Be careful—the pan is aluminum and can crack if you push too hard on it.
Step 3: Remove the Old Mount
Locate the transmission mount. It’s usually below the transmission, mounted to the frame or a crossmember. Some vehicles have multiple mounts—one at the back (front-wheel drive) or sides (rear-wheel drive).
Remove the upper bolts first (bolts going from the mount into the transmission or crossmember). Then lower the jack slightly to take tension off the lower mount bolts and remove those.
Work methodically. Don’t let the transmission hang unsupported at any point.
Step 4: Compare Old vs. New
Before you install the new mount, compare it to the old one:
- Same mounting hole locations?
- Same overall dimensions?
- Same bushing style (rubber, hydraulic, etc.)?
- Same load rating?
If the new mount is different, double-check you ordered the right part. Not all aftermarket mounts are direct replacements.
Step 5: Install the New Mount
Hand-thread all bolts first. Get them started before you snug anything down. Cross-threading a mount bolt is frustrating and can damage threads.
Torque to spec. Check your service manual for exact torque values. Mount bolts are typically in the 40-75 ft-lb range, but this varies. Torque evenly—don’t just crank one bolt down all the way.
Check alignment. The new mount should sit flat and square. If it’s crooked, something isn’t aligning right.
Step 6: Remove the Jack
Once everything is torqued, slowly lower the transmission jack until the weight settles onto the new mount. Watch that nothing binds or shifts.
Step 7: Check for Clearance
Before you button everything up:
- Move the transmission through its range of motion (in neutral) and watch for any contact with the body or exhaust
- Check that the exhaust is still clear of the body
- Verify the driveshaft angle is still correct (for RWD vehicles)
If anything looks off, investigate before driving.
Common Mistakes That Cause Problems
Not supporting the transmission properly. This is the big one. If the transmission falls while you’re working, you can seriously injure yourself and destroy the transmission.
Overtightening mount bolts. Mounts need to be tight, but there’s no benefit to gorilla-tightening them. Over-torqueing can crack the mount’s rubber or compress it improperly.
Skipping the alignment check. After installing new mounts, the drivetrain position can shift slightly. For RWD vehicles, have the driveshaft angle checked.
Using the wrong part. Not all mounts are created equal. Check that your replacement has the same specs as the original.
Performance vs. Stock Mounts
Here’s where your goals matter:
| Mount Type | Best For | Trade-off |
|---|---|---|
| Stock hydraulic | Daily driving, comfort | Allows more engine movement |
| Solid rubber | Budget replacement, some performance | Transfers more vibration |
| Polyurethane | Performance, durability | Firm, more vibration in cabin |
| Aluminum/metal | Dedicated race cars | No vibration isolation, harsh |
For a daily driver, stick with stock-style hydraulic mounts. For a performance build, polyurethane offers a good balance. For a track-only car, solid mounts reduce movement for more direct power transfer.
How Long Does This Job Take?
| Experience | Time |
|---|---|
| First-timer | 2-4 hours |
| Experienced DIY | 1-2 hours |
| Professional shop | 1-2 hours labor |
The job itself isn’t complicated. Most of the time is fighting with rusted bolts and making sure you don’t drop the transmission.
FAQ
Q: Can I drive with a bad transmission mount?
A: Technically yes, but it’s not ideal. A bad mount lets the transmission move excessively, which can stress other components (like the driveshaft or exhaust). If the mount is completely collapsed, the transmission can contact the undercarriage, causing noise and potential damage. Get it fixed before it causes other problems.
Q: Do I need to replace all the transmission mounts at once?
A: Not necessarily, but it’s worth inspecting all of them if one is bad. Mounts typically fail around the same time due to age. If your car has multiple mounts and one is clearly shot, the others are probably not far behind. Doing them all at once saves labor costs down the road.
Q: What’s the difference between a transmission mount and an engine mount?
A: Engine mounts hold the engine to the frame. Transmission mounts hold the transmission to the frame. Both are rubber-mounted to isolate vibration, but they’re designed for different loads and positions. Some vehicles share a mount that serves both (called a “dogbone” or combined mount).
Q: Can I replace a transmission mount myself?
A: Yes, with the right equipment. You need a transmission jack to safely support the transmission while you work. If you don’t have one and can’t rent one, this is a job for a shop.
Q: How much does a transmission mount replacement cost?
A: Parts run $50-200 per mount depending on your vehicle. Labor is typically 1-2 hours at shop rates ($100-200/hour in most areas). Total cost is usually $200-500 for one mount, or $400-1000+ if replacing multiple mounts.
Q: Will a new transmission mount fix my vibration issue?
A: Possibly, but not always. Vibration can come from many sources—wheel balance, driveshaft angle, worn U-joints, transmission internal issues. A bad mount is one cause. If you replace the mount and vibration persists, look for other sources.
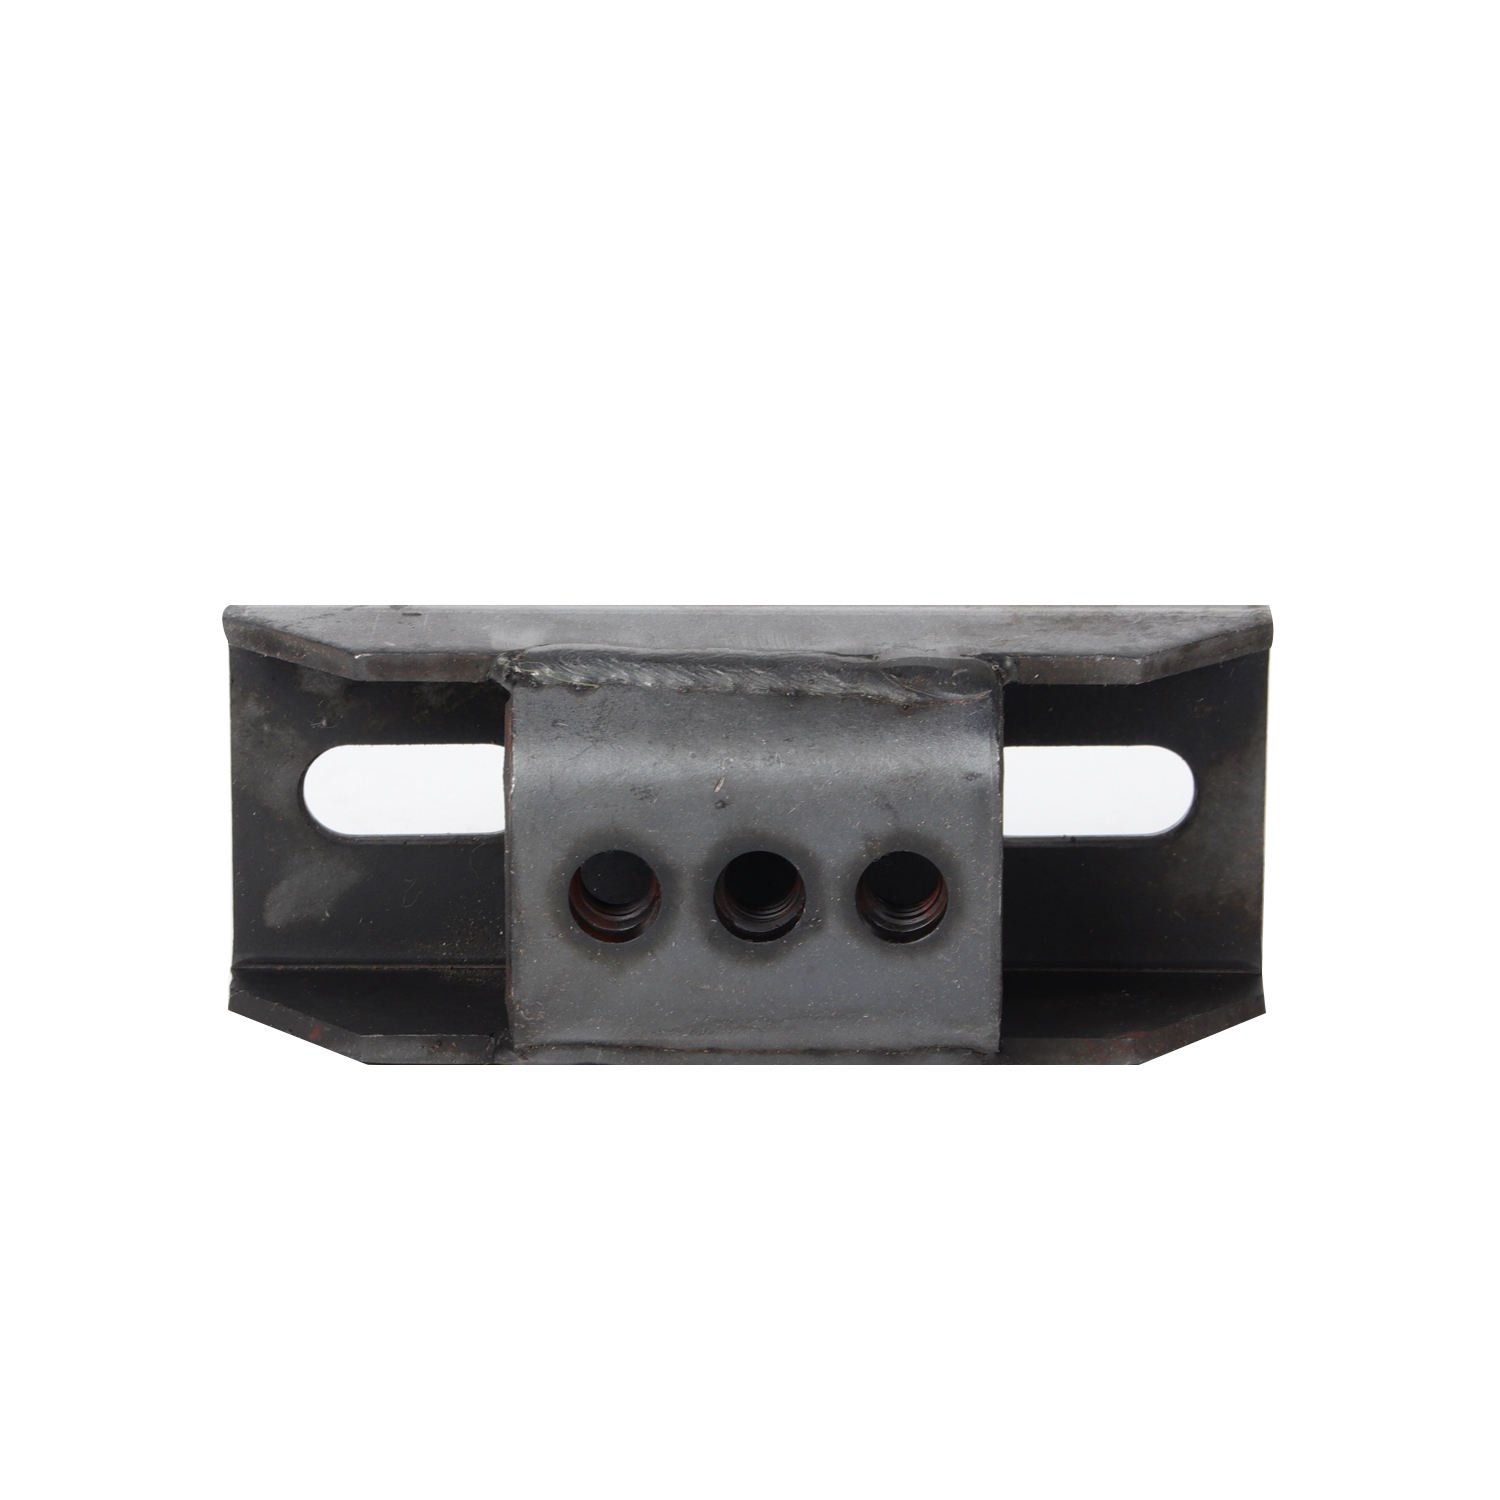
Where to Buy a Where to Buy a SBC Universal GM Transmission Mount?
If you’re looking for a reliable supplier, it’s important to choose a manufacturer that offers:
- Stable product quality
- Consistent supply
- Wholesale support
- OEM branding options
For bulk orders or reseller inquiries, you can check this product page:
If you’re looking for a reliable supplier, it’s important to choose a manufacturer that offers:
- Stable product quality
- Consistent supply
- Wholesale support
- OEM branding options
For bulk orders or reseller inquiries, you can check this product page: