
How to Install Lowering Blocks: Complete Technical Guide
Lowering blocks serve as suspension modification components that reduce vehicle ride height by installing between the vehicle’s leaf spring pack and rear axle housing. These precision-machined blocks effectively lower the rear of the vehicle when installed in the leaf spring eye or center pin location, creating a more aggressive stance and improved handling characteristics.
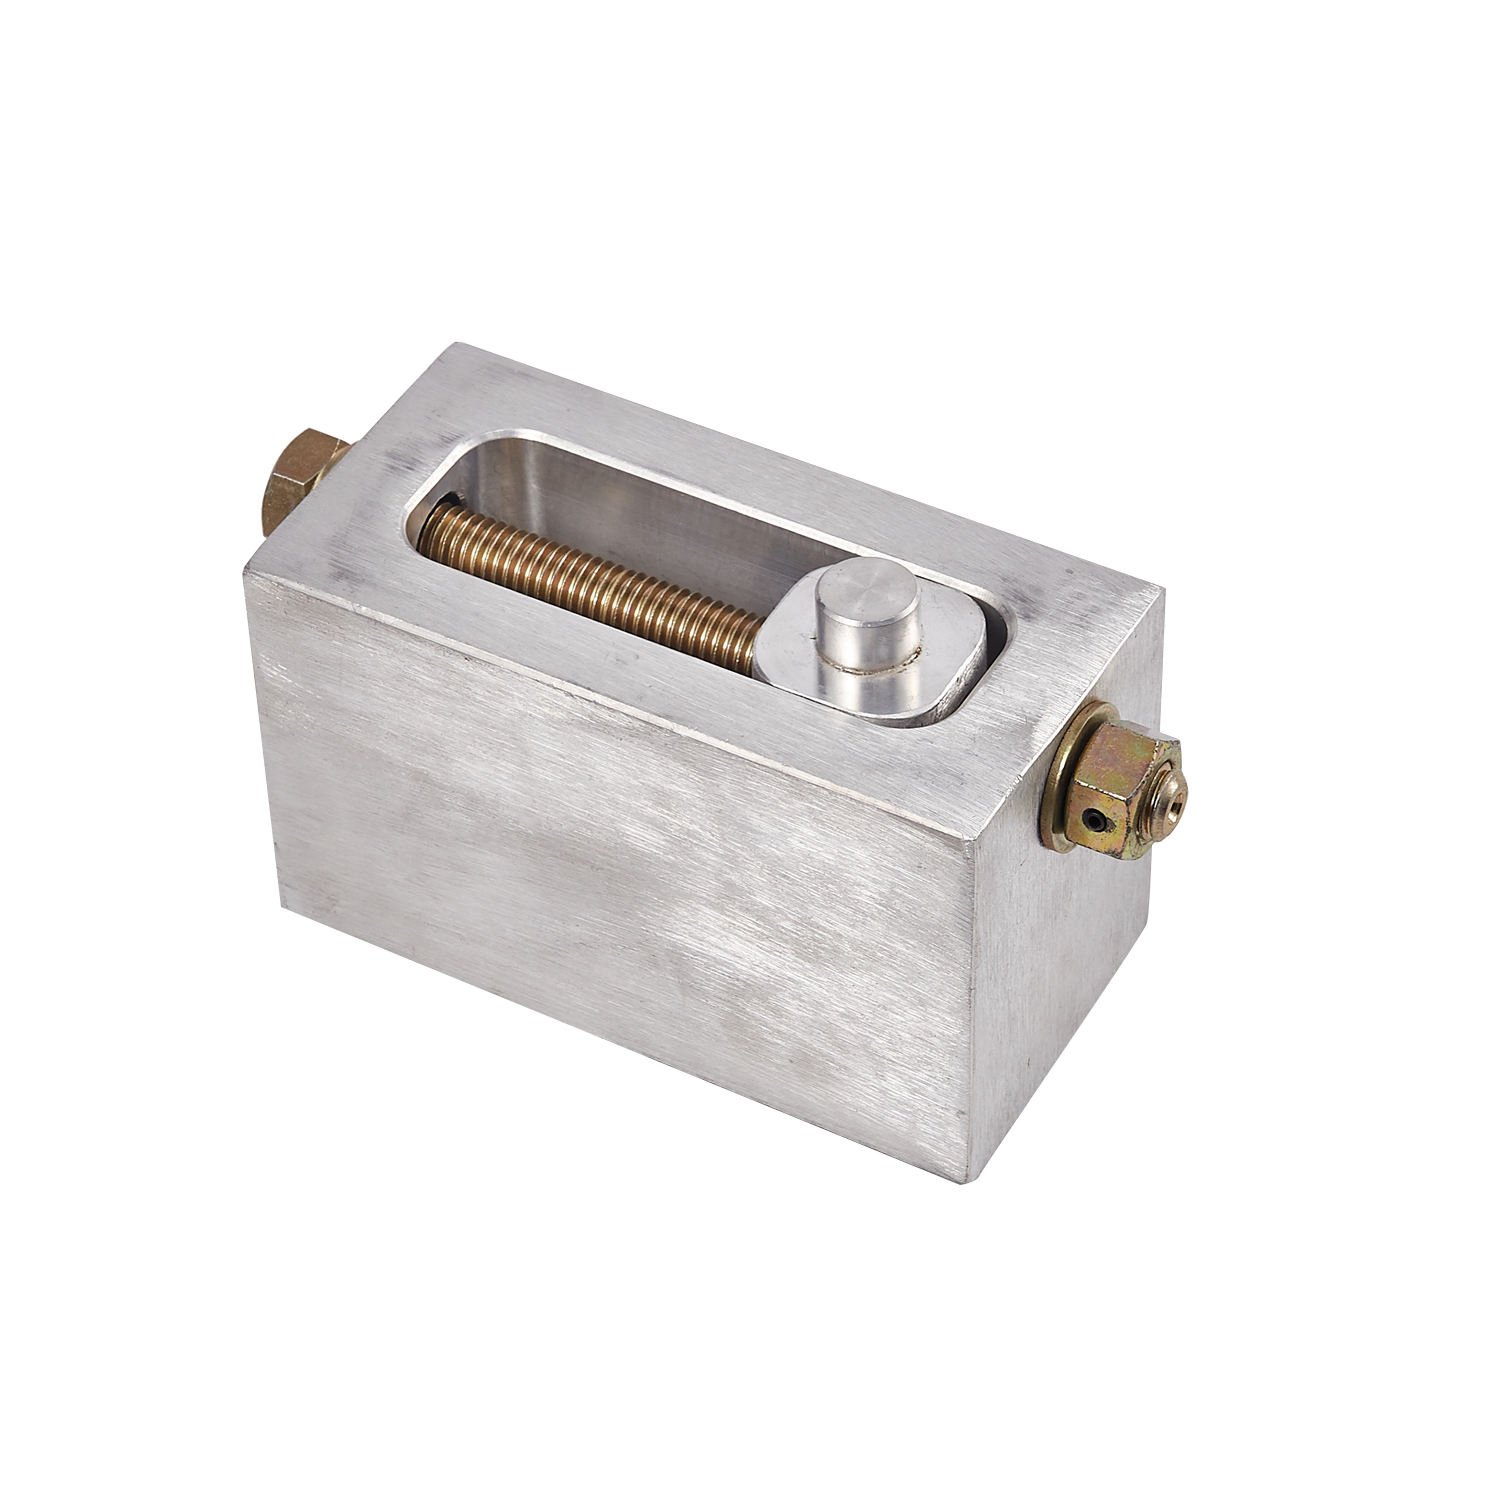
The lowering block functions by decreasing the distance between the leaf spring and axle, which reduces the vehicle’s overall ride height. This modification is particularly popular for trucks, SUVs, and classic vehicles that utilize leaf spring rear suspension systems. Installation requires careful attention to component alignment, hardware requirements, and safety procedures.
Lowering Block Design and Specifications
Block Construction Materials
| Material | Characteristics | Application |
| Steel | Highest strength, durable | Heavy-duty applications |
| Aluminum | Lightweight, corrosion-resistant | Performance applications |
| Polyurethane | Impact-absorbing | Budget installations |
| Composite | Durable, economical | Standard installations |
Steel lowering blocks provide maximum strength for heavy loads and aggressive driving. Aluminum offers weight savings with adequate strength for most applications. Polyurethane provides some vibration damping but may compress under heavy loads.
Block Dimension Specifications
| Specification | Standard Range | Notes |
| Thickness | 1-4 inches | Determines drop amount |
| Length | Matches spring width | Ensures proper contact |
| Width | Matches spring width | Full spring engagement |
| Center pin hole | Factory size | Aligns with spring center |
| Taper angle | 0-4 degrees | Matches spring arch |
Drop Amount Calculations
| Desired Drop | Block Thickness | Additional Modifications |
| 1 inch | 1 inch block | May need extended brake lines |
| 2 inch | 2 inch block | Check suspension travel |
| 3 inch | 3 inch block | Extended bump stops likely |
| 4+ inch | Multiple blocks | Comprehensive modification |
Pre-Installation Preparation
Required Tools and Equipment
| Tool | Purpose | Specification |
| Floor jack | Vehicle lifting | 2-ton minimum capacity |
| Jack stands | Vehicle support | Minimum 4 stands, rated for load |
| Socket set | Hardware removal | Metric and SAE as applicable |
| Wrench set | Hardware installation | Match fastener sizes |
| Torque wrench | Secure tightening | Calibrated, proper range |
| Pry bar | Spring manipulation | Appropriate size |
| Cordless drill | U-bolt removal (if cutting) | With metal-cutting bit |
| Safety equipment | Personal protection | Glasses, gloves |
Vehicle Preparation Steps
1.Park on level surface: Position vehicle on flat, solid ground with parking brake applied.
2.Support frame: Place jack stands under the vehicle frame or body, not under suspension components. The rear axle must be able to hang freely during installation.
3.Remove rear wheels: Loosen lug nuts while vehicle is on ground, then remove wheels completely for access.
4.Verify stand placement: Ensure vehicle is stable on stands before working underneath.
5.Support axle: Position floor jack under differential to support axle during lowering block installation.
Safety Critical Points
| Safety Check | Requirement | Consequence of Neglect |
| Jack stand placement | Frame or body only | Vehicle collapse |
| Axle support | Secure but allowing movement | Axle drop, injury |
| Vehicle stability | No movement when pushed | Immediate danger |
| Proper tools | Correct size and rating | Stripped hardware, injury |
Installation Procedure: Step-by-Step
Phase 1: Suspension Access
Step 1: Position vehicle and supports
1.Raise vehicle using floor jack at manufacturer-specified lift points
2.Position jack stands under frame rails behind rear wheels
3.Lower vehicle onto stands and verify stability
4.Position secondary support under rear axle
Step 2: Prepare axle assembly
1.Place floor jack under rear differential housing
2.Apply slight pressure to support axle weight
3.Verify axle is supported but can move slightly
4.The axle should hang slightly when weight is released from springs
Phase 2: U-Bolt Removal
Step 3: Loosen U-bolt hardware
1.Locate U-bolts that secure axle to leaf springs
2.Using appropriate wrench, loosen all U-bolt nuts
3.If nuts are seized, apply penetrating oil and allow to soak
4.For stubborn hardware, cut nuts using cordless drill with metal bit
Step 4: Remove U-bolts
1.Once nuts are removed, lift U-bolts off axle
2.Save U-bolts if reusable or prepare new extended U-bolts
3.Inspect U-bolt condition for future reference
4.Remove any rust or debris from axle mounting surface
Phase 3: Lowering Block Installation
Step 5: Position lowering blocks
1.Ensure leaf spring is secure and supported
2.Clean axle mounting surface of debris and rust
3.Apply anti-corrosion compound to block mounting surfaces
4.Position lowering block between leaf spring and axle
Step 6: Align block properly
1.Align block center pin hole with leaf spring center pin
2.Ensure block sits flat against both leaf spring and axle
3.Verify block orientation (some blocks have directional arrows)
4.Check that block is fully seated before proceeding
Step 7: Reassemble suspension
1.Position axle against lowering block
2.Ensure leaf spring, block, and axle are properly aligned
3.Guide leaf spring onto axle mounting surface
4.Verify block remains centered during assembly
Phase 4: Hardware Installation
Step 8: Install new U-bolts
1.Position new extended U-bolts (if required for additional drop)
2.Thread U-bolts through block and axle mounting holes
3.Ensure U-bolts are seated properly in block recesses
4.Verify U-bolts are centered and parallel
Step 9: Torque specifications
| Hardware | Torque Specification | Sequence |
| U-bolt nuts | 80-100 ft-lb | Star pattern, incremental |
| Axle retainer bolts | Per manufacturer spec | Standard torque sequence |
| Brake line attachments | Snug, no strain | Verify routing |
Step 10: Final torque application
1.Apply initial torque to all U-bolt nuts in star pattern
2.Repeat torque application in star pattern multiple times
3.Final torque should achieve specification uniformly
4.Verify no hardware is loose after final torque
Phase 5: Completion Steps
Step 11: Suspension verification
1.Slowly lower vehicle to allow suspension to settle
2.Verify lowering block remains properly positioned
3.Check that leaf springs are seated correctly
4.Inspect U-bolts for even seating
Step 12: Component inspection
1.Verify brake lines have adequate clearance
2.Check fuel lines and tank for interference
3.Inspect shock absorber mounting
4.Verify exhaust system clearance
Step 13: Wheel installation
1.Mount wheels and hand-tighten lug nuts
2.Lower vehicle fully to ground
3.Torque lug nuts in star pattern to specification
4.Verify wheel rotation is clear of any interference
Post-Installation Procedures
Initial Inspection Points
| Inspection Area | Check | Action If Finding |
| U-bolt security | No movement when tested | Retorque to specification |
| Block alignment | Centered, flat seating | Adjust if misaligned |
| Brake lines | No stretching, adequate clearance | Reroute if strained |
| Suspension travel | Full articulation tested | Verify clearance throughout |
| Wheel fitment | No contact with body | May require fender modification |
Suspension Travel Verification
With vehicle on ground, verify the following:
1.Full compression: Push down on vehicle rear and observe suspension movement
2.Full extension: Lift rear wheel off ground and observe extension
3.Clearance check: Verify no contact between components during travel
4.Brake function: Test brake operation and verify lines not restricted
Professional Alignment
After lowering block installation, the vehicle requires professional alignment:
| Alignment Parameter | Consideration |
| Rear axle angle | May change with lowered stance |
| Thrust angle | Affects vehicle tracking |
| Pinion angle | May require adjustment |
| Overall geometry | Full four-wheel alignment |
Lowering Block vs Other Modification Methods
Comparison with Drop Spindles
| Aspect | Lowering Blocks | Drop Spindles |
| Installation location | Between spring and axle | Replaces front spindle |
| Drop amount | 1-4 inches typical | 2-4 inches typical |
| Effect | Lowers rear only | Lowers front only |
| Suspension travel | Reduced | Maintained |
| Cost | Lower | Higher |
Comparison with Lowering Springs
| Aspect | Lowering Blocks | Lowering Springs |
| Installation complexity | Moderate | Moderate to high |
| Spring stress | No change | Increased rate |
| Ride quality | Slightly harsher | Depends on spring rate |
| Ride height adjustment | Block change required | Spring change required |
Common Installation Errors
Hardware-Related Errors
| Error | Consequence | Prevention |
| Insufficient U-bolt torque | Block shifting, failure | Proper torque, retorque after break-in |
| Misaligned block | Uneven loading, failure | Verify centering before torquing |
| Reusing stretched U-bolts | Hardware failure | Install new extended U-bolts |
| Incorrect block thickness | Wrong drop amount | Verify specifications before ordering |
Safety-Related Errors
| Error | Consequence | Prevention |
| Inadequate vehicle support | Vehicle collapse | Use frame stands, never rely on jack alone |
| Axle not supported | Axle drop, injury | Support axle before spring disconnection |
| Working under unstable vehicle | Serious injury | Verify stability before entering |
| Improper jack placement | Vehicle damage | Follow manufacturer lift points |
Maintenance and Inspection
Regular Inspection Schedule
| Interval | Inspection Items |
| First 100 miles | Torque verification |
| First 500 miles | Full inspection, alignment check |
| Every 3,000 miles | Visual inspection, torque check |
| Annually | Full suspension inspection |
Wear Indicators
| Symptom | Possible Cause | Response |
| Clunking noise | Loosened U-bolts | Immediate inspection and retorque |
| Uneven stance | Block shifting | Inspect and correct alignment |
| Vibration | Driveline angle change | Check pinion angle, realign |
| Handling change | Geometry shift | Full alignment required |
FAQ: Technical Clarifications
Q: How do you install lowering blocks?
A: Installation requires supporting the vehicle securely on jack stands placed under the frame, positioning a jack under the rear axle for support, removing the U-bolts that secure the axle to the leaf springs, placing the lowering block between the axle and leaf spring, reinstalling extended U-bolts through the block and axle, and torquing hardware to specification. The vehicle must be supported safely throughout since the axle will be hanging freely during installation.
Q: What tools are needed to install lowering blocks?
A: Required tools include a floor jack with 2-ton minimum capacity, multiple jack stands for vehicle support, socket and wrench sets in appropriate sizes, a torque wrench for proper hardware installation, pry bars for spring manipulation, and potentially a cordless drill with metal-cutting bit for stubborn U-bolt hardware removal. Safety equipment including gloves and eye protection is essential.
Q: Do lowering blocks affect ride quality?
A: Lowering blocks may introduce a slightly harsher ride compared to stock suspension because they change the spring rate relationship and can increase noise transmission. The impact depends on block material, vehicle weight, and existing suspension components. Quality polyurethane or aluminum blocks with proper installation minimize negative effects on ride quality.
Q: How much drop do lowering blocks provide?
A: Lowering blocks typically provide 1 to 4 inches of rear drop depending on block thickness. Common sizes include 1-inch, 2-inch, and 3-inch blocks. Some installations use multiple blocks stacked together for greater drop amounts. The actual drop achieved depends on the original vehicle height and the block thickness installed.
Q: Do I need new U-bolts for lowering blocks?
A: Yes, installing lowering blocks typically requires new extended U-bolts because the increased distance between the leaf spring and axle requires longer hardware. Standard-length U-bolts will not reach when blocks are installed. Always install new U-bolts specifically designed for the drop amount being achieved.
Q: How often should I check lowering block torque?
A: Torque verification should occur at 100 miles, 500 miles, and then every 3,000 miles or annually. U-bolts can settle and require retorquing after initial installation. Regular inspection prevents loosening-related failures that could cause serious suspension damage or safety hazards.