
How to Replace a Power Steering Hose: A Practical Guide
That wet spot under your truck isn’t transmission fluid—it’s power steering fluid, and it’s coming from a hose somewhere. If you’re reading this, you’ve probably already located the culprit and figured out that swapping the hose is the fix. Maybe you’ve already priced the parts and balked at shop labor rates.
Good news: replacing a power steering hose is totally doable as a DIY job. Let’s get into it.
How Do You Know Which Hose Is Leaking?
Before you start throwing parts at the problem, make sure you’ve identified the right hose. Power steering systems have two main lines:
| Hose Type | Function | Location | Common Failure Points |
|---|---|---|---|
| Pressure hose | Carries high-pressure fluid from pump to rack | Pump outlet to rack inlet | Near the pump fitting, bends, crimps |
| Return hose | Returns low-pressure fluid from rack to reservoir | Rack return to reservoir | Near the reservoir, routing bends |
The pressure hose is usually the smaller diameter line with higher-temperature rated rubber. It’s under pressure constantly—often 150-300 PSI depending on load—and this is the one that usually fails first.
Look for wetness tracking downward from the fitting. If the fitting itself is wet, the fitting might just need re-tightening. If the hose itself is damp along its length, the hose is compromised.
What Tools Do You Actually Need?
This job isn’t fancy, but you need the right stuff:
| Tool | Why It Matters |
|---|---|
| Line wrenches (flare or banjo, depending on your setup) | Protect fitting flats from rounding off |
| O-ring pick or gasket scraper | Clean old O-rings or gaskets from fittings |
| Fresh O-rings or copper washers (as needed) | Always replace these when disturbing fittings |
| New power steering fluid | You’ll need to top off after the job |
| Drain pan | Catch the fluid that’ll spill during disconnection |
| Ratchet and sockets | Removing line brackets and mounting hardware |
| Shop towels | Because this job is messy |
Line wrenches are non-negotiable. A regular open-end wrench on a brass fitting will round off the flats in about three seconds of levering.
Step-by-Step Replacement Process
Step 1: Park and Prepare
Move the truck to level ground. Front wheels straight. Disconnect the negative battery terminal—you don’t want any accidental engine cranking while you’re working near belts and rotating parts.
Step 2: Drain the System (Or At Least Reduce It)
This step determines how messy your job is.
Preferred method: Use a suction tool or turkey baster to pull as much fluid as possible from the reservoir before disconnecting anything. You’re reducing the amount that spills when you crack the lines.
Acceptable method: If you can’t access the reservoir easily, crack the return line fitting first—less pressure there, less spray.
Put your drain pan in position before you disconnect anything. Trust me on this.
Step 3: Remove the Old Hose
Pressure hose: Start at the pump fitting (usually easiest access). Use your line wrench to hold the fitting body while loosening the banjo bolt or flare nut. Support the hose as you remove the last connection—it likes to flop around.
Return hose: Usually has a spring clamp or constant-torque clamp near the reservoir. Remove the clamp, twist and pull the hose off the barb fitting.
Route path: As you remove the hose, note how it routes through the engine bay. Photos help—some hoses have specific retention points that matter for clearance and to avoid chafing on hot components.
Step 4: Compare Old vs. New
Before you install the new hose, lay it next to the old one. Check:
- Same end fitting types and sizes?
- Same overall length?
- Same routing path possible?
If the new hose is shorter or has different fittings, double-check you ordered the right part. OEM-equivalent aftermarket hoses should match exactly. Universal kits with adapters add complexity—make sure those adapters are in the box.
Step 5: Install the New Hose
Route the new hose following the same path as the old one—or better, look for a cleaner route if the old one was rubbing something or had a tight bend that might have contributed to failure.
At the fittings:
- Clean the fitting surfaces with a shop towel—no debris in the system
- Install new O-rings or copper washers as required by your application
- Thread fittings by hand first—cross-threading brass fittings ruins them fast
- Snug with line wrench, then slightly more
For banjo bolts: These use crush washers (usually copper). Always replace crush washers—they deform on first install and won’t seal again.
Step 6: Secure the Hose
Use whatever clips or brackets held the old hose. If the old hose was rubbing something, adjust the new one to avoid that contact point. Hose chafe on hot exhaust manifolds = another leak within weeks.
Step 7: Fill the System and Bleed
This part matters more than most people think.
Fill the reservoir to the proper level (usually “MAX COLD” or similar marking).
With the engine OFF:
- Turn the steering wheel lock-to-lock slowly several times
- This circulates fluid through the system and pushes air bubbles to the reservoir
Start the engine (idling, wheels straight) and watch the reservoir. Fluid level will drop as lines fill—that’s normal. Keep adding fluid until the level stabilizes.
Bleed the system: With the engine running, slowly turn lock-to-lock again, listening for any air noise (cavitation, aeration). If you hear whining, there’s still air in the system. Let it rest, top off, repeat.
Check for leaks: At the fittings you just installed, watch for weeping. Tighten slightly if you see fluid seeping—not crazy tight, just snug.
Common Mistakes That Cause Problems
Reusing old O-rings. Always replace O-rings when you disconnect fittings. The old ones have taken a set and won’t seal again, even if they look okay.
Overtightening brass fittings. Brass is soft. Crank it down hard enough and you’ll deform the fitting or strip the threads. Snug plus quarter-turn, no more.
Skipping the chafe check. New hose routes the same as old? Check it at full steering lock—make sure it doesn’t rub the tire, fender, exhaust, or anything else.
Wrong fluid. Some systems specify ATF, others want specific power steering fluid. Check your manual. Wrong fluid causes seal swelling and eventual failure.
Not bleeding properly. Running the system with air in it causes cavitation and premature pump failure. Take your time here.
OEM vs. Aftermarket Hoses
| Factor | OEM | Aftermarket |
|---|---|---|
| Price | Higher | Lower |
| Fitment guarantee | Direct swap | Usually matches, sometimes needs adjustment |
| Quality | Consistent | Varies by manufacturer |
| Warranty | Usually better | Often limited |
For something safety-critical like power steering, I lean toward quality aftermarket (AC Delco, Gates, etc.) or OEM. The cheap universal kit from an unknown brand is a gamble. A hose that fails at speed while you’re steering is a bad day.
How Long Does This Job Take?
| Experience | Time |
|---|---|
| First-timer | 1-2 hours |
| Experienced DIY | 30-60 minutes |
| Professional shop | 30-45 minutes |
Most of the time is fluid handling and bleeding. The actual hose swap is 15-20 minutes if nothing goes wrong.
FAQ
Q: Can I use hose clamps instead of the factory crimp fittings?
A: No. Power steering pressure is high enough that clamps will blow off. Use the correct fitting for your application. If your new hose doesn’t match the fitting type, return it and get the right hose.
Q: Do I need to flush the system when replacing the hose?
A: Not necessarily, but it’s a good idea if the old fluid was dark or you’re having other steering issues. The new hose will push some of the old fluid through, so if the rest of the system is contaminated, you might want to flush it afterward.
Q: My power steering still whines after replacing the hose. What’s wrong?
A: You probably have air in the system. Re-bleed it properly. If the whine persists after several lock-to-lock cycles with fresh fluid, you might have a return line restriction or a failing pump.
Q: Can I replace just the hose, or do I need to do more?
A: Just the hose in most cases. But while you’re in there, inspect the other line for similar aging (cracked rubber, hardened sections). If the other hose is showing its age, replacing both at once saves labor later.
Q: How much does a power steering hose cost?
A: Replacement hoses run $20-80 for the hose itself, depending on your vehicle. Professional installation is typically $100-200 labor on top of parts. DIY saves that labor cost but requires proper tools and bleeding procedure.
Q: Can I drive my vehicle with a leaking power steering hose?
A: Not safely. A pressure leak will eventually leave you with zero power assist, and low fluid can damage the pump. If you must move the vehicle a short distance to get to a shop, keep fluid topped up and drive gently. Don’t push it.
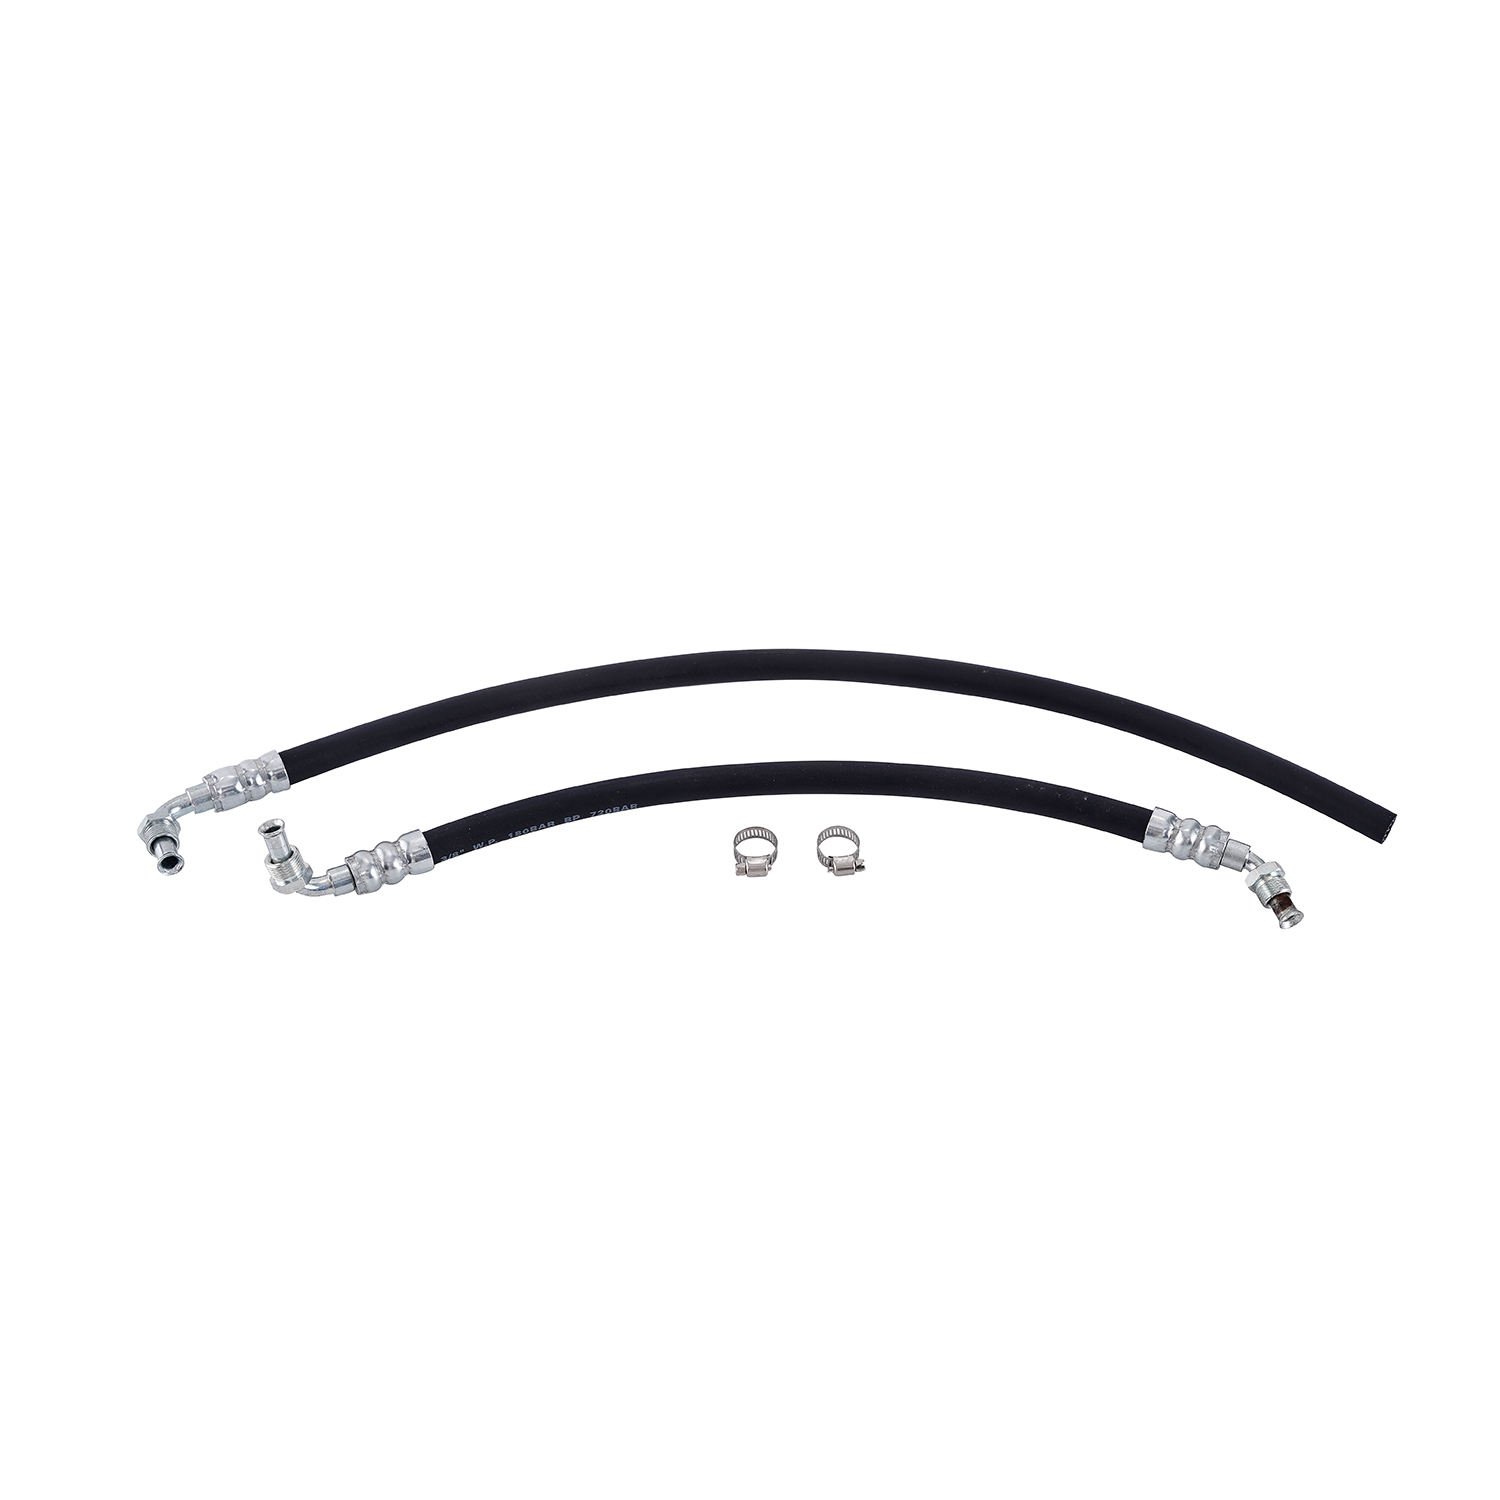
Where to Buy a Where to Buy a Power Steering Hoses Kit?
If you’re looking for a reliable supplier, it’s important to choose a manufacturer that offers:
- Stable product quality
- Consistent supply
- Wholesale support
- OEM branding options
For bulk orders or reseller inquiries, you can check this product page:
If you’re looking for a reliable supplier, it’s important to choose a manufacturer that offers:
- Stable product quality
- Consistent supply
- Wholesale support
- OEM branding options
For bulk orders or reseller inquiries, you can check this product page: