
How to Install a Center Drag Link: The Practical Guide
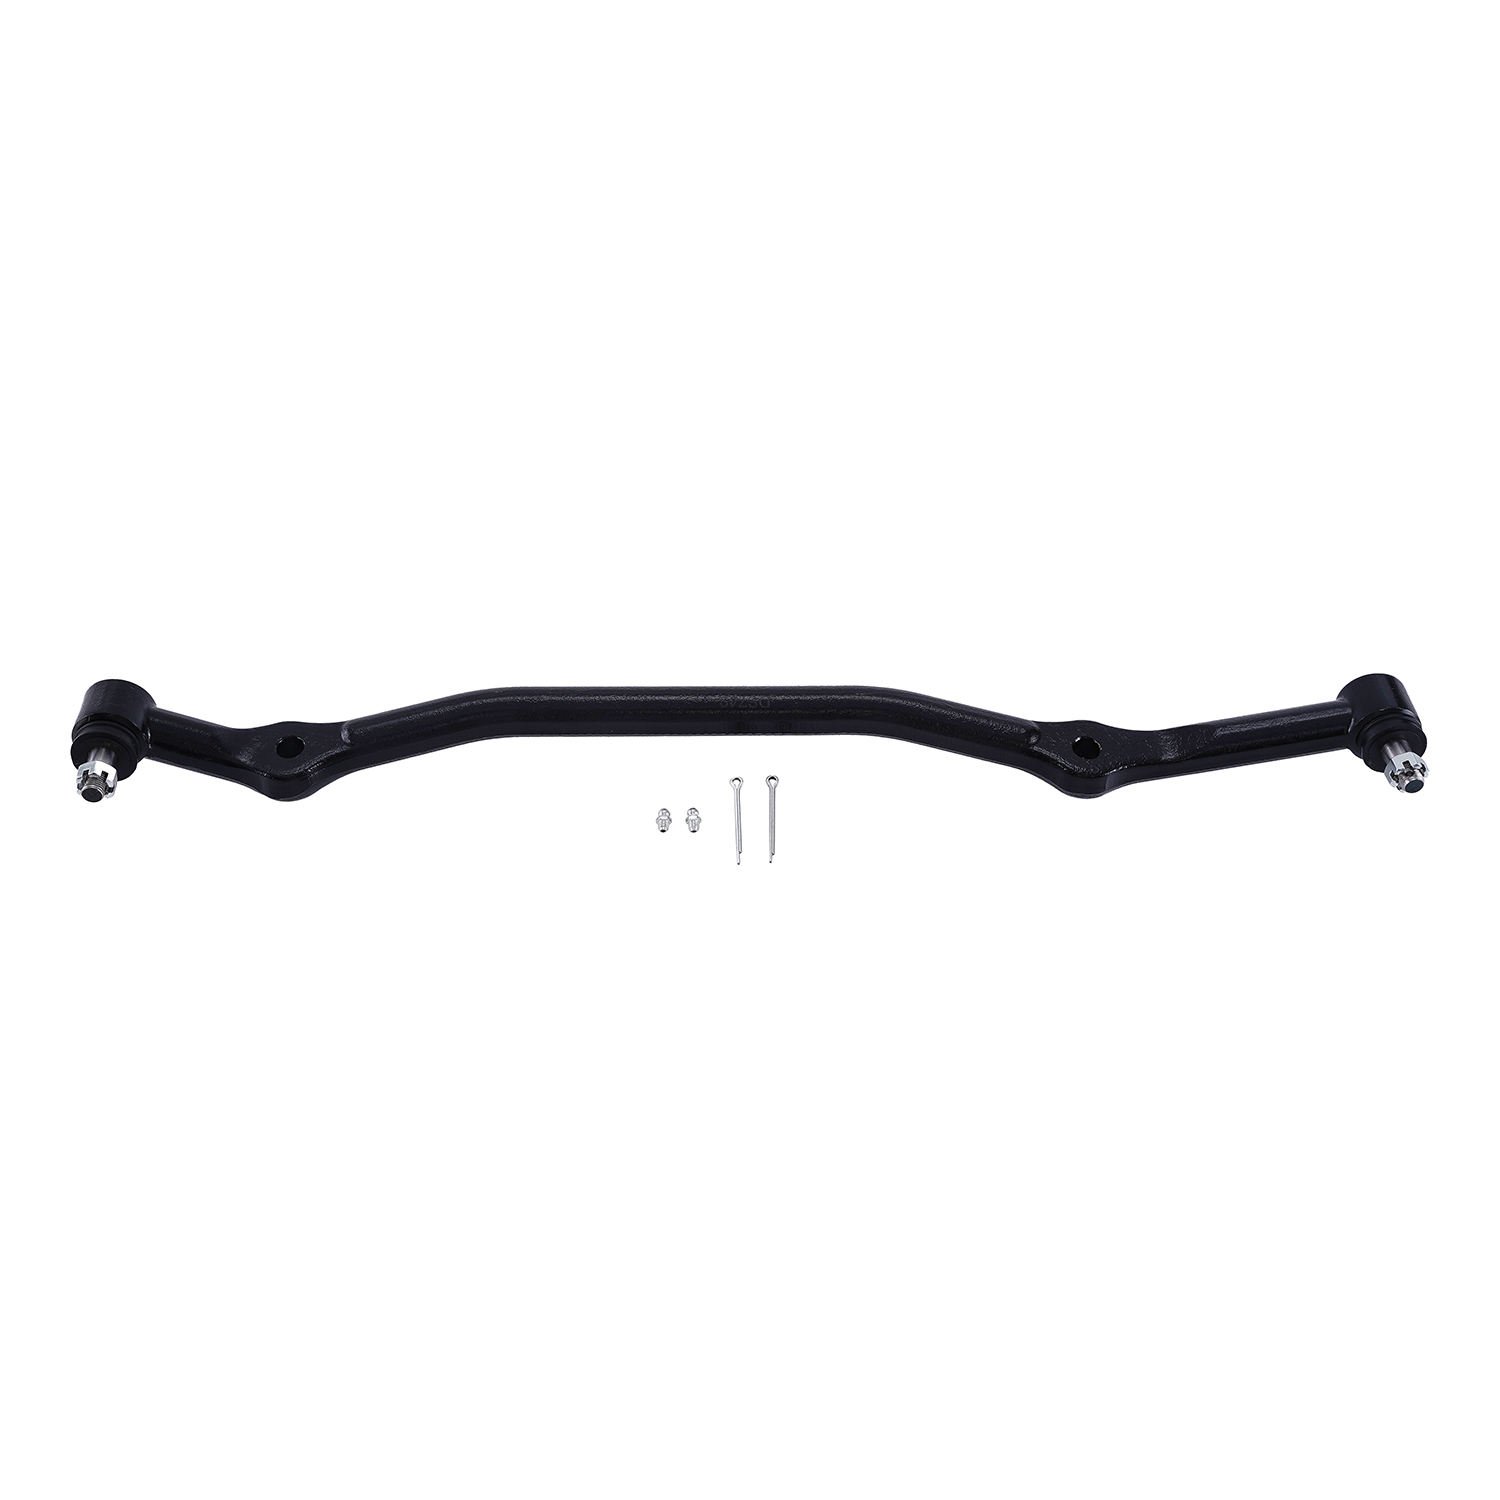
The center drag link. One of those components that sits in the middle of your steering linkage, connects your pitman arm to your idler arm, and keeps your front wheels pointed where they’re supposed to go. If you’re reading this, you’ve probably got a worn-out link, need to do a full linkage rebuild, or maybe you’re installing a new suspension that changed your steering geometry.
Let’s get into how to do this right.
What Does a Center Drag Link Actually Do?
The center drag link is the horizontal bar in your steering linkage that connects the pitman arm (which moves when you turn the wheel) to the idler arm (which mirrors that motion on the passenger side). When you turn your steering wheel left, the pitman arm pushes the drag link, which pushes the idler arm, which steers the passenger-side wheel in sync with the driver-side wheel.
It’s essentially the synchronization rod that keeps both front wheels pointed in the same direction. Without it, your wheels would turn independently and your steering would be chaos.
On most vehicles, both ends use ball joints with grease fittings (if serviceable) or sealed boots. The link itself is either fixed-length or adjustable, depending on your setup.
When Would You Need to Replace the Center Drag Link?
Common scenarios:
| Situation | Why Replace |
|---|---|
| Worn ball joints | Play in the linkage, clunking noise |
| Bent from impact | Damage from hitting curb, rock, etc. |
| Suspension lift change | Geometry changes require different length/linkage |
| Steering wander | Worn links can cause vague steering feel |
| Routine maintenance | Links wear out like any other suspension component |
The telltale sign of a bad drag link: grab the link near one end while someone turns the wheel. Any play or clunking = worn ball joints or excessive wear.
Tools You Actually Need
This isn’t a specialty job, but you’ll need the right equipment:
| Tool | Purpose |
|---|---|
| Ball joint press or pickle fork | Removing old tie rod ends if connected |
| C-clamp or brake caliper spreader | Compressing the new ball joint boot if needed |
| Grease gun | Filling serviceable joints with grease |
| Torque wrench | Critical for proper clamping loads |
| Socket set | Various bolt sizes depending on your vehicle |
| Safety glasses | Protection during spring-loaded separation |
| Jack and stands | Supporting the vehicle properly |
Skip the pickle fork if you have a ball joint press—it’s gentler on the components and works better on sealed designs.
Step-by-Step Installation Process
Step 1: Support the Vehicle Properly
Park on level ground. Front wheels straight. Use jack stands under the frame or structural members—not control arms. You want the suspension at ride height with wheels hanging naturally. This matters for alignment.
Step 2: Mark Everything
Before removing anything, mark the relationship between components. Use a paint pen or scratch awl to mark:
- The drag link’s position relative to the pitman arm
- The drag link’s position relative to the idler arm
- Any adjustment threads if using an adjustable link
These marks help you reinstall with similar alignment, reducing alignment shop time later.
Step 3: Remove the Old Drag Link
Depending on your configuration:
For threaded connections: Loosen the jam nuts first, then unthread the link from the arms. Note how many turns it takes to remove each end—this gives you a starting point for installation.
For press-in ball joints: Use your ball joint press or pickle fork to separate the link from the pitman arm and idler arm. Support the link as you remove the last connection—it can be surprisingly heavy on some trucks.
For bolt-on designs: Remove the mounting bolts. Simple.
Step 4: Inspect the Steering Arms
With the link out, now’s the time to inspect. Check:
- The pitman arm and idler arm for cracks or damage
- The mounting surfaces for corrosion or wear
- The grease fittings (if equipped) for clogging
- The bushing/seal condition on both arms
If the arms look questionable, replace them now—you’re already in the area.
Step 5: Prepare the New Drag Link
If your new link is adjustable:
Thread both ends equally from the center initially. This gives you adjustment room in both directions later.
Pre-grease the threads of any adjustable portion. This prevents seizing and makes future adjustments easier.
Test the ball joint movement before installation. It should move smoothly without binding or excessive play.
Step 6: Install the New Drag Link
Route the link into position. For threaded links:
Step 7: Set the Initial Length
This is where people get frustrated. The goal is to get the wheels pointing straight with the steering wheel centered.
Start with your earlier marks as a reference. Install the link so the reference marks roughly align.
Center the steering wheel. With the wheels roughly straight, the steering wheel should be centered. If it’s not, adjust the link length slightly and recheck.
A note on alignment: You’re not setting final alignment here—you’ll do that at the alignment shop. But getting the link length close means less time (and money) at the alignment rack.
Step 8: Torque Everything Properly
This step matters more than most DIYers realize.
Ball joint jam nuts: Torque to spec. Under-torqued jam nuts back off and let the link length change while driving—that’s how you get your alignment wandering between shops. Typically 30-50 ft-lb depending on thread size.
Mounting bolts (if applicable): Follow the manufacturer’s specs for torque sequence and values.
Step 9: Grease the Joints (If Serviceable)
If your new drag link has grease fittings, pack them with grease now. Pump until fresh grease comes out the seams—not the fittings. A few pumps is usually enough.
Over-greasing can blow the seals. When in doubt, do fewer pumps.
Step 10: Check Your Work
Before driving:
If anything feels wrong, stop and investigate. A binding drag link can cause serious handling problems or damage other components.
Common Mistakes That Cause Problems
Not marking original position. Your starting point matters. Going in blind means more alignment shop time.
Cross-threading adjustment threads. Thread the jam nuts by hand first. They destroy quickly if crossthreaded.
Under-torquing jam nuts. The link length changing while driving is no fun. Torque to spec.
Forgetting to check clearance. With the wheels at full lock, the link should clear everything. If it rubs the tie rod or control arm, you’ll destroy components fast.
Skipping the alignment appointment. New drag link = new geometry. Get an alignment.
Adjustable vs. Fixed-Length Links
| Type | Best For | Pros | Cons |
|---|---|---|---|
| Fixed length | Stock replacements, known geometry | Simple, no adjustment to fail | Must get length exactly right |
| Adjustable | Custom builds, suspension lifts | Easy to dial in, can correct geometry | More moving parts |
If you’re replacing a worn stock link, a direct-fit fixed-length replacement is simplest. If you’ve changed your suspension geometry, adjustable gives you room to correct alignment without buying custom parts.
How Long Does This Job Take?
| Experience | Time |
|---|---|
| First-timer | 1.5-3 hours |
| Experienced DIY | 45-90 minutes |
| Professional shop | 30-60 minutes |
Most of the time is wrestling with corroded connections and getting everything aligned. Budget extra time if you’re dealing with rusty hardware.
FAQ
Q: Do I need an alignment after installing a new center drag link?
A: Yes. Any change to steering linkage geometry affects wheel alignment. Even if the link length seems right, you’ll likely need toe adjustment at minimum after installation. Budget for an alignment shop visit.
Q: Can I drive my vehicle with a worn center drag link?
A: You can, but the steering will be sloppy and unpredictable. If the link fails entirely while driving, you lose steering control. Not worth the risk. Replace it before driving.
Q: What’s the difference between a center drag link and a tie rod?
A: The drag link connects the pitman arm to the idler arm (passenger side). The tie rod connects the steering knuckle to the steering arm or another knuckle. Both are part of the steering linkage but serve different functions. Tie rods handle toe adjustment; drag links handle the push-pull connection between sides.
Q: Can I install a center drag link myself if I’ve never worked on steering before?
A: Yes, with patience. The ball joint separation and reassembly are straightforward if you have the right tools and follow the steps. The tricky parts are properly torquing jam nuts and getting the link length close enough for the alignment shop to finish. If you’re comfortable with basic mechanical work and suspension components, you can handle this.
Q: How do I know if my center drag link needs adjustment or replacement?
A: Grab each end of the link and try to wiggle it. Any movement indicates worn ball joints. Look for torn boots (allowing dirt in) or rust on the adjustment threads. If the link has a fixed length and you’re getting steering wander, check the link for bending. Adjustable links that are hard to turn or seized need replacement or cleaning.
Q: Should I replace the idler arm when I replace the center drag link?
A: Consider it. Both components wear at similar rates since they experience the same loads. If your idler arm bushings are tired (visible deflection when you push on it), replacing both at once makes sense—you’re already in the area, and the labor is mostly done.
Where to Buy a Where to Buy a Center Drag Link for 1978-88 GM?
If you’re looking for a reliable supplier, it’s important to choose a manufacturer that offers:
- Stable product quality
- Consistent supply
- Wholesale support
- OEM branding options
For bulk orders or reseller inquiries, you can check this product page:
If you’re looking for a reliable supplier, it’s important to choose a manufacturer that offers:
- Stable product quality
- Consistent supply
- Wholesale support
- OEM branding options
For bulk orders or reseller inquiries, you can check this product page: